Shubham Furniture & Aluminium
Pune, Maharashtra

The Victaulic PC3110 Cut and Mark Tool is a portable tool that operates with a power drive for preparing pipe to receive QuickVic SD Installation-Ready products. The PC3110 tool is designed to cut and..
Categories: Sp Uncategorized,

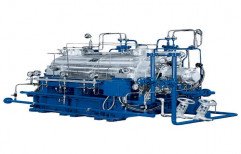
Since the incorporation of our organization, we are offering Hydraulically Operated Diaphragm Pump t.
per Unit(s)
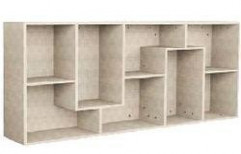
Riding on immense volumes of industrial expertise, we have come up with a wide consignment of Book C.
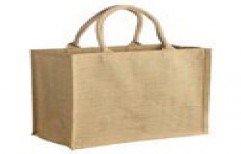
We are one of the reliable companies in this domain and are offering Jute Carry Bag.Price Range:- Rs.
per Piece
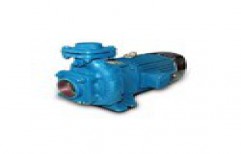
Owing to our affluent industry acquaintance, we present End Suction Monoblock Pumps..
per Piece

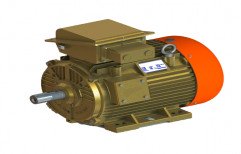
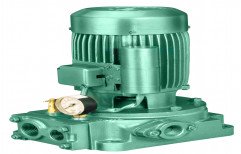
This Kirloskar Electric Pump is a sub-class of dynamic axisymmetric work-absorbing turbo machinery.F.
Horizontal, single stage, end suction, radially split volute casing pump in backpull- out .

Bevel Gears Shafts are gears & shafts where the axes of the two shafts intersect and the tooth-beari.
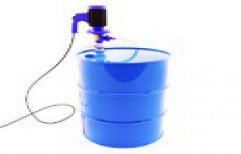
These are electric motor (Non FLP / FLP ) operated barrel pumps with suction pipe kit used for barre.
per Piece
AQUAGROUP’S “TEXMO” Jet Monoblocks are capable of pumping water from bore wells an.
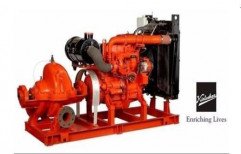
Kirloskar Pumpsets for Domestic, Industrial, Dewatering & Fire Fighting Application. The pumpset.
Jaipur, Rajasthan